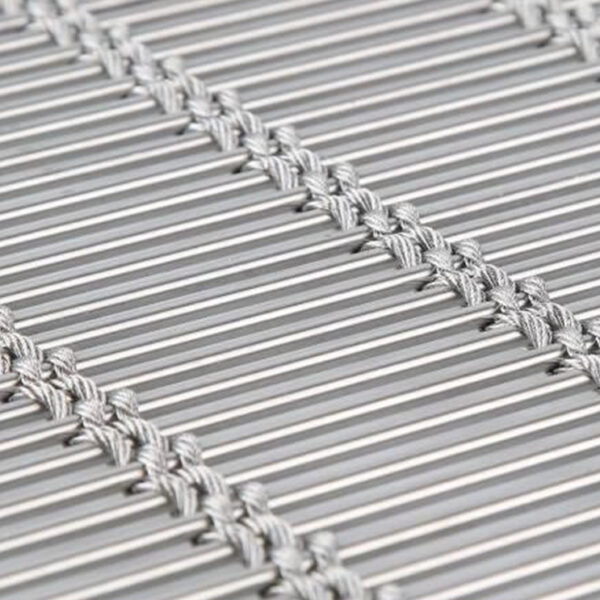


Here is a breakdown of the screen printing steps:
Step 1: Design Drafting
The first thing you need in the silk screening process is the original image or text from which the printer will make copies of the design. Then, the prints of the selected design or pattern are on a transparent acetate film.
Step 2: Choose and Prepare the Mesh Screen
The next step is to choose a mesh screen for the silk screening operation. However, it would help if you chose a mesh screen based on the material or fabric type for the printing and the design complexities. After then, cover the mesh screen with a light-sensitive emulsion layer.
Step 3: Expose the Emulsion Paint to Light Source
Place the acetate sheet carrying the design on the mesh screen, exposing both to bright light. It helps to harden the emulsion paint. If the design uses several colors, you should consider using a different mesh screen for each color ink.
Step 4: Prepare the Stencil
The screen area not covered by the printed design hardens after some time, while any emulsion part not hardened by the concentrated light gets washed away. It creates an excellent imprint of the desired design on the mesh screen. The screen is thoroughly dried after the wash-up while the stencil is processed for subsequent use.
Step 5: Prepare for Screen Printing
Set up the mesh with the design on the printing press with screws. Usually, manufacturers have used manual and automatic presses. So, an automatic printing press is your best option when your project requires multicolor printing. The fabric or any other material to be printed on is set on a printing board underneath the screen.
Step 6: Print the Design
Lower the screen to come close to the fabric while you pour the ink on the screen. Use a squeegee to press the ink from the screen onto the object carefully. The ink forms the design’s imprints onto the fabric when the ink goes beneath the screen to the material. When printing multiple objects, you must position a new object or substrate under the screen and repeat the process.
Step 7: Heat-Cure and Finish the Print
The transferred pain on the item dries up entirely with the help of a dryer. After drying, you must wash and check the final product for residue before pushing it to the market. Also, you must wash off the mesh screen with chemicals and prepare it for subsequent use